Home Painting Tips, Tricks, And Inspiration
Discover valuable insights and tips for your painting projects.
July 3, 2026
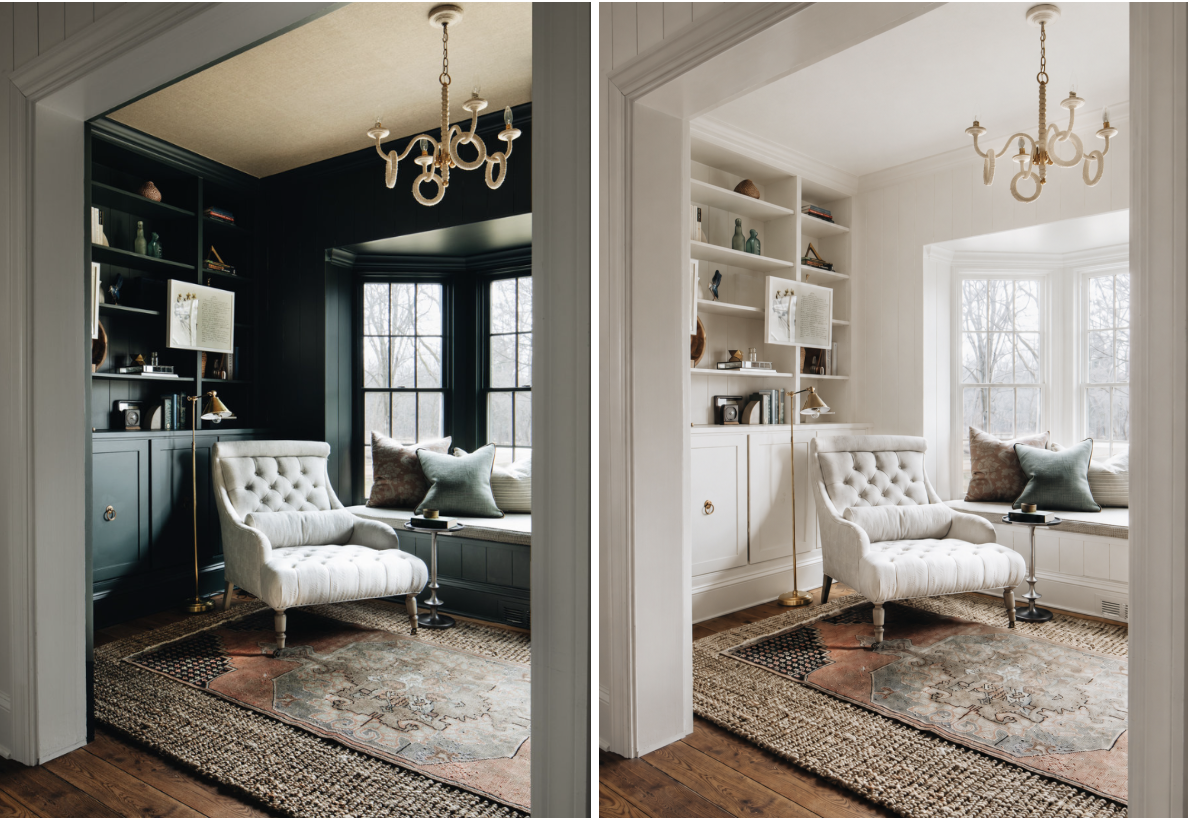
How Paint Can Make Small Rooms Feel Bigger 🎨✨
If your rooms feel dark, small, or outdated, a fresh coat of paint can make a dramatic difference.
June 2, 2026
Why South-Facing Walls Need Extra Attention in Colorado ☀️🏡
While Colorado homeowners enjoy over 300 days of sunshine each year, your home's exterior doesn't always feel the same way.
May 21, 2026

🏡 How Professional Painters Protect Your Home During a Project
A great paint job is about more than color on the wall; it’s about trust, professionalism, and how your home is treated during the process.
April 21, 2026

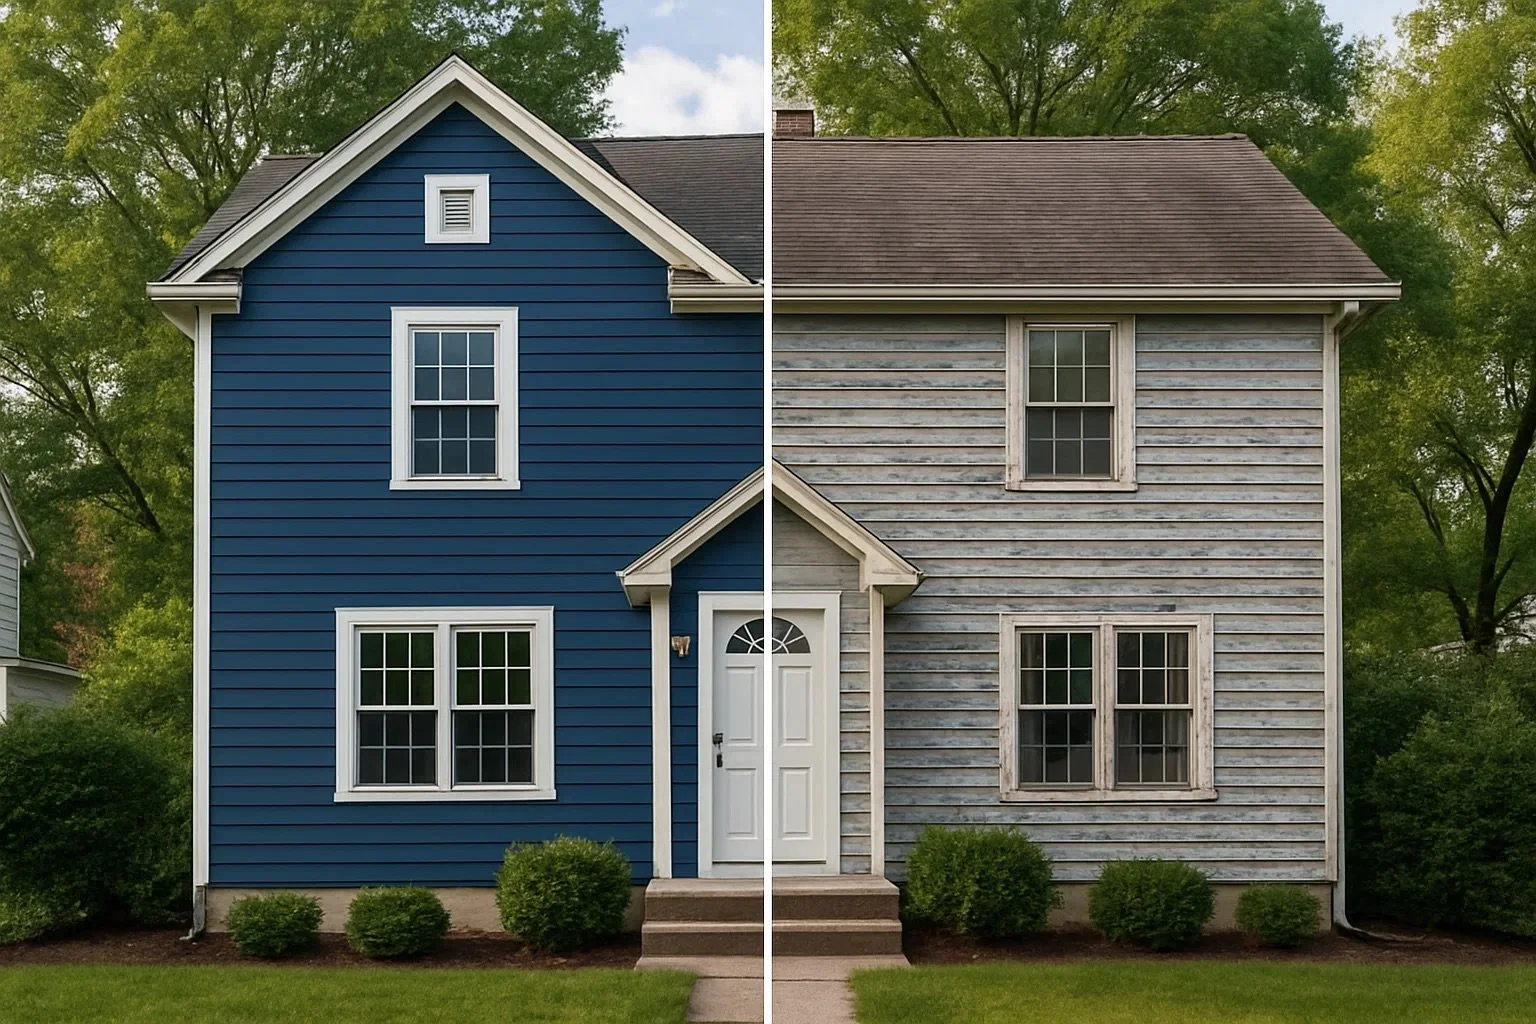
🎨 The Hidden Costs of DIY Painting in Colorado’s Dry Climate
DIY painting in Colorado’s dry climate is rarely as simple or as affordable as it appears.
April 21, 2026

🎨 What to Expect During a Horner Painting Estimate
A Horner Painting estimate isn’t just a price, it’s the first step in a customer-focused, guided, and stress-free experience.
April 6, 2026

Popular Exterior Color Trends in Northern Colorado (2026 Edition)
Popular Exterior Color Trends in Northern Colorado
April 6, 2026

What 25+ Years of Painting in Northern Colorado Has Taught Us 🎨🏔️
If you’re looking for trusted painters in Fort Collins or anywhere in Northern Colorado, we’d love to show you what experience looks like.
April 6, 2026
🏡 Why Local Experience Matters When Hiring a Painter in Northern Colorado
Hiring a painter with deep local experience protects your investment, saves time, and delivers longer-lasting results.
October 28, 2025
🌦️ How Northern Colorado Weather Impacts Paint Lifespan
Northern Colorado’s weather is beautiful but tough on paint.
Mike O.
Kyle Blach